

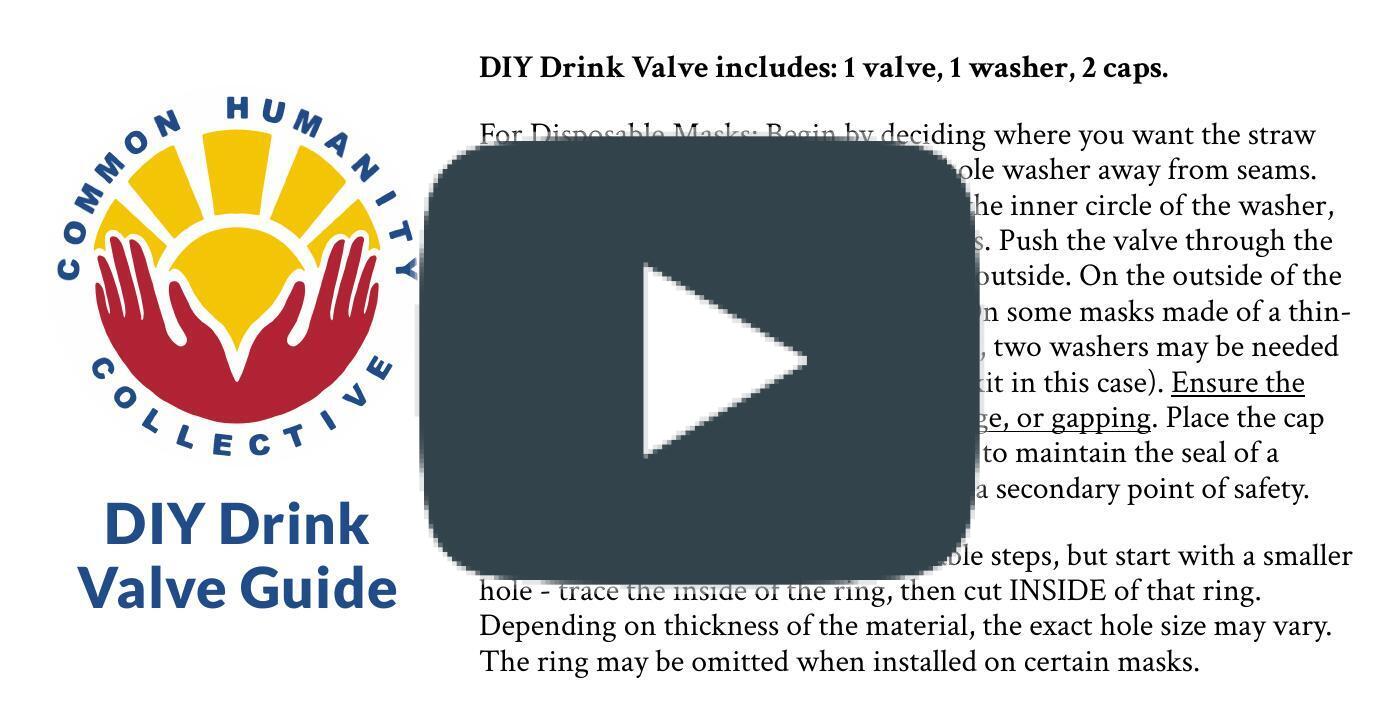
Want to install a DIY drink valve into one of your masks?
Check out our step-by-step instructions.
Materials Needed:
1 pen
1 mask
Scissors
Included in CHC’s DIY drink valve kit:
1 washer, 1 valve, 2 caps
Check out this parts list to purchase the bulk supplies we use in our kits.
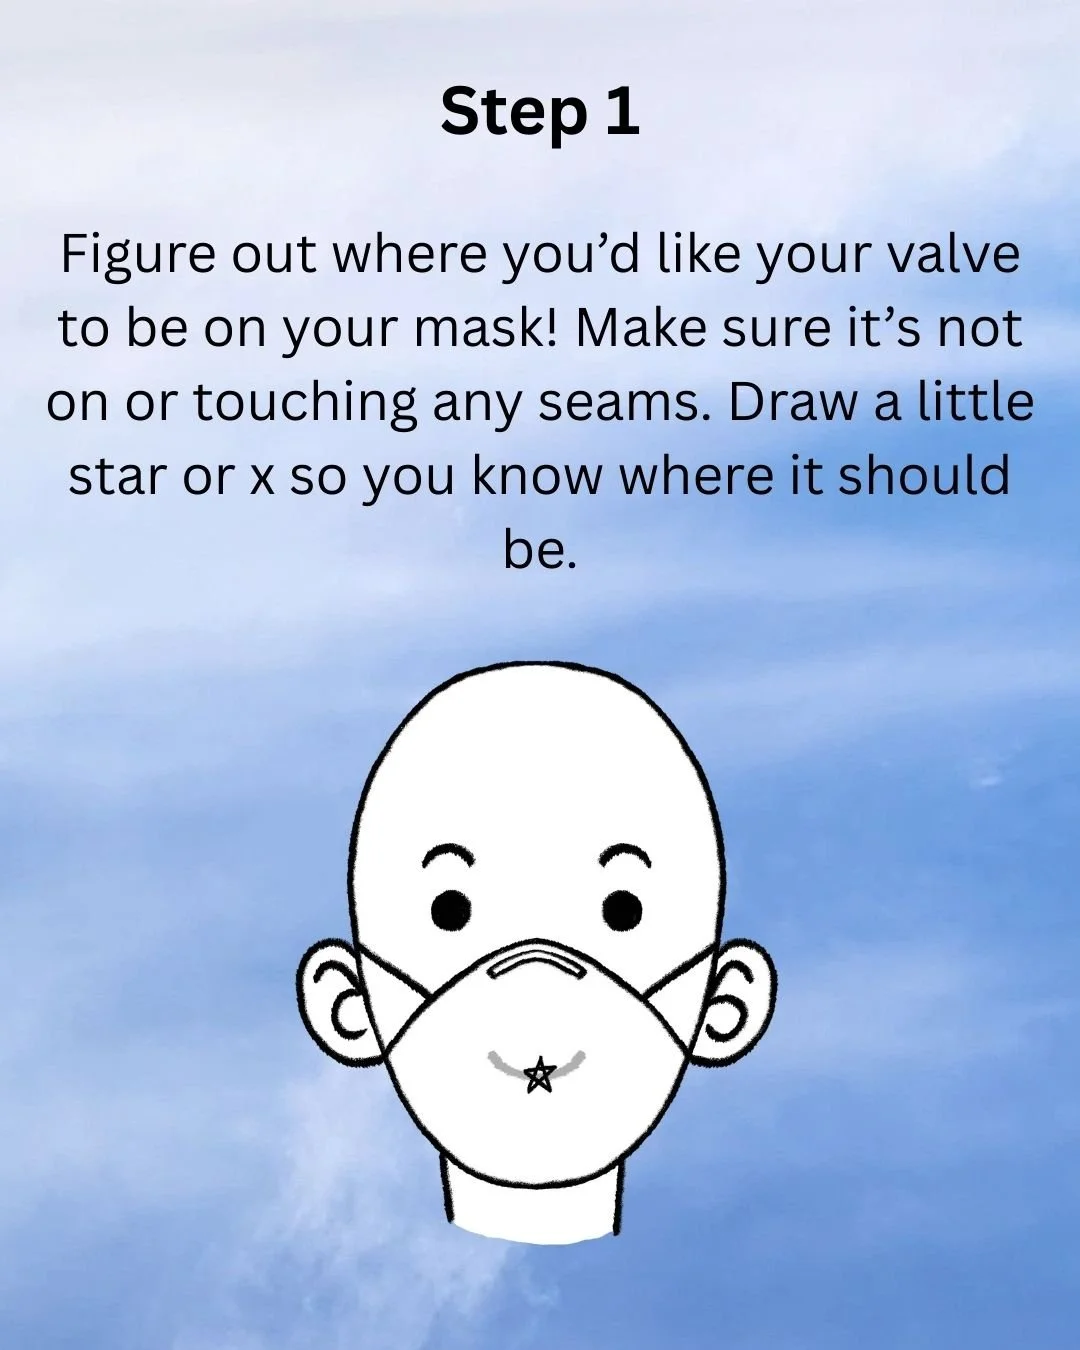
Step 1: Figure out where you'd like your valve to be on your mask! Make sure it's not on or touching any seams. Draw a little star or x so you know where it should be.
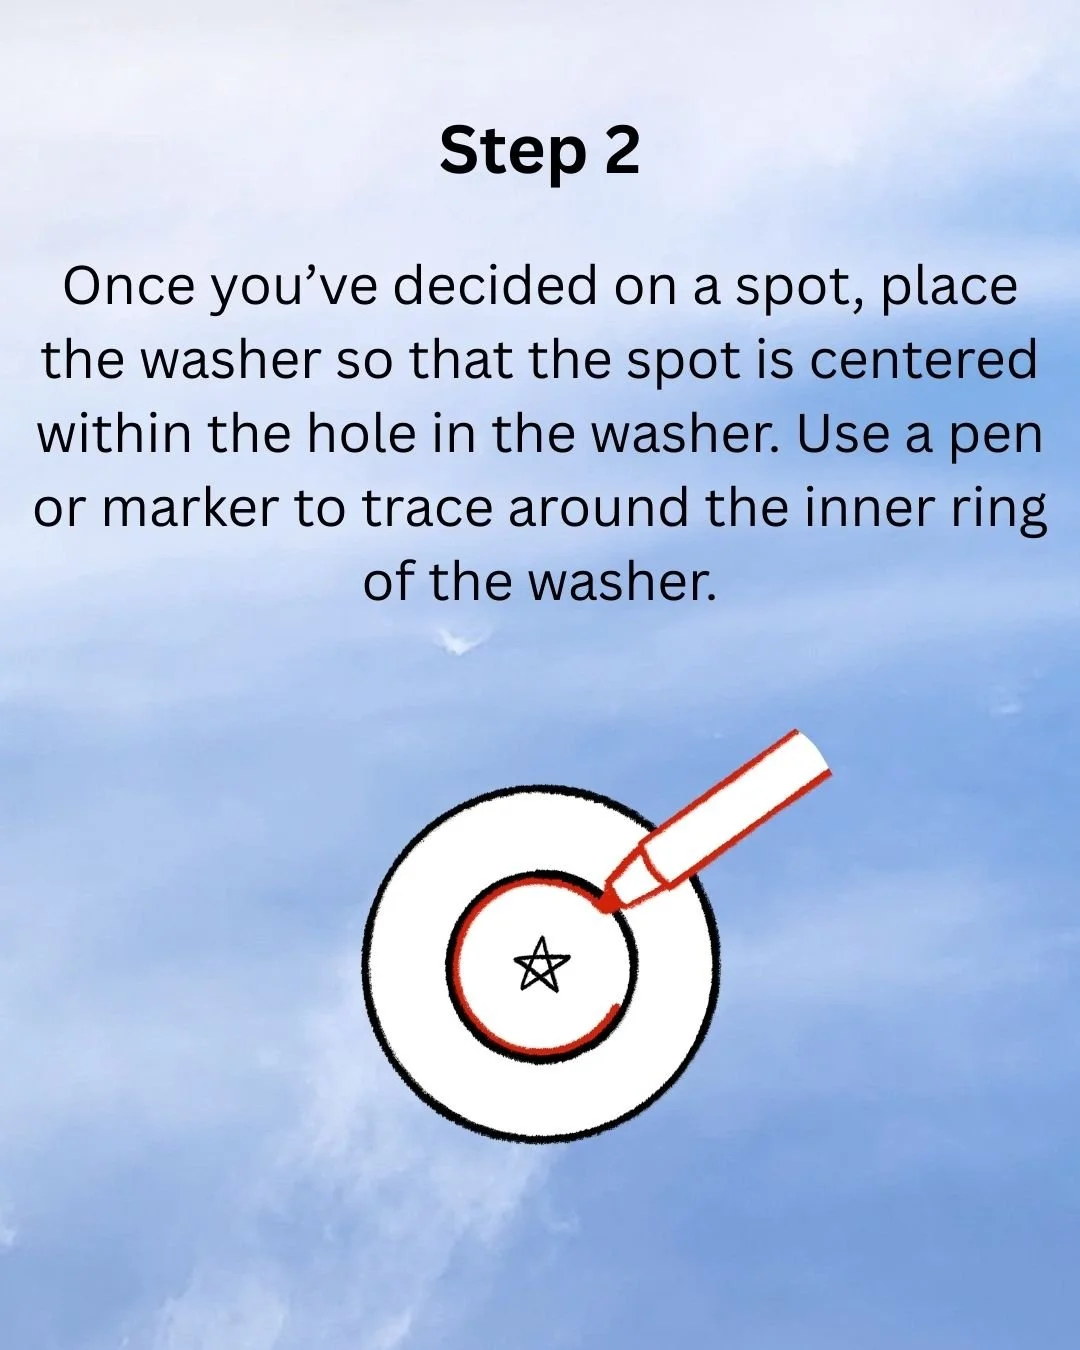
Step 2: Once you’ve decided on a spot, place the washer so that the spot is centered within the hole in the washer. Use a pen or marker to trace around the inner ring of the washer.
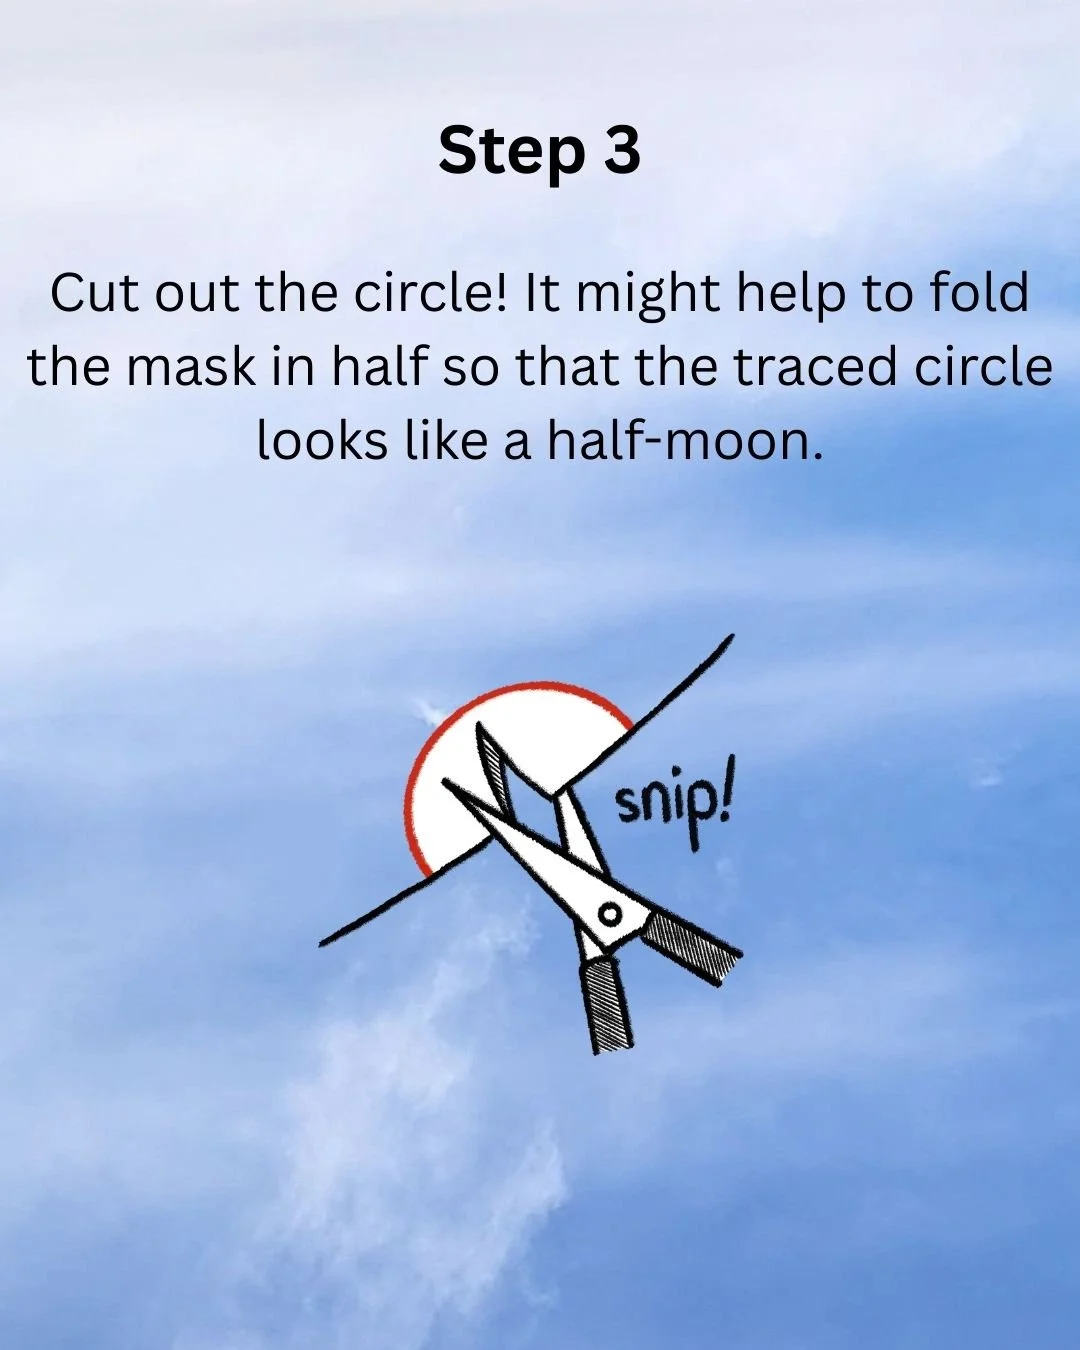
Step 3: Cut out the circle! It might help to fold the mask in half so that the traced circle looks like a half-moon.

Step 4: Starting from the inside of the mask, push the valve through the hole you just cut until it peeks out from the exterior of the mask.
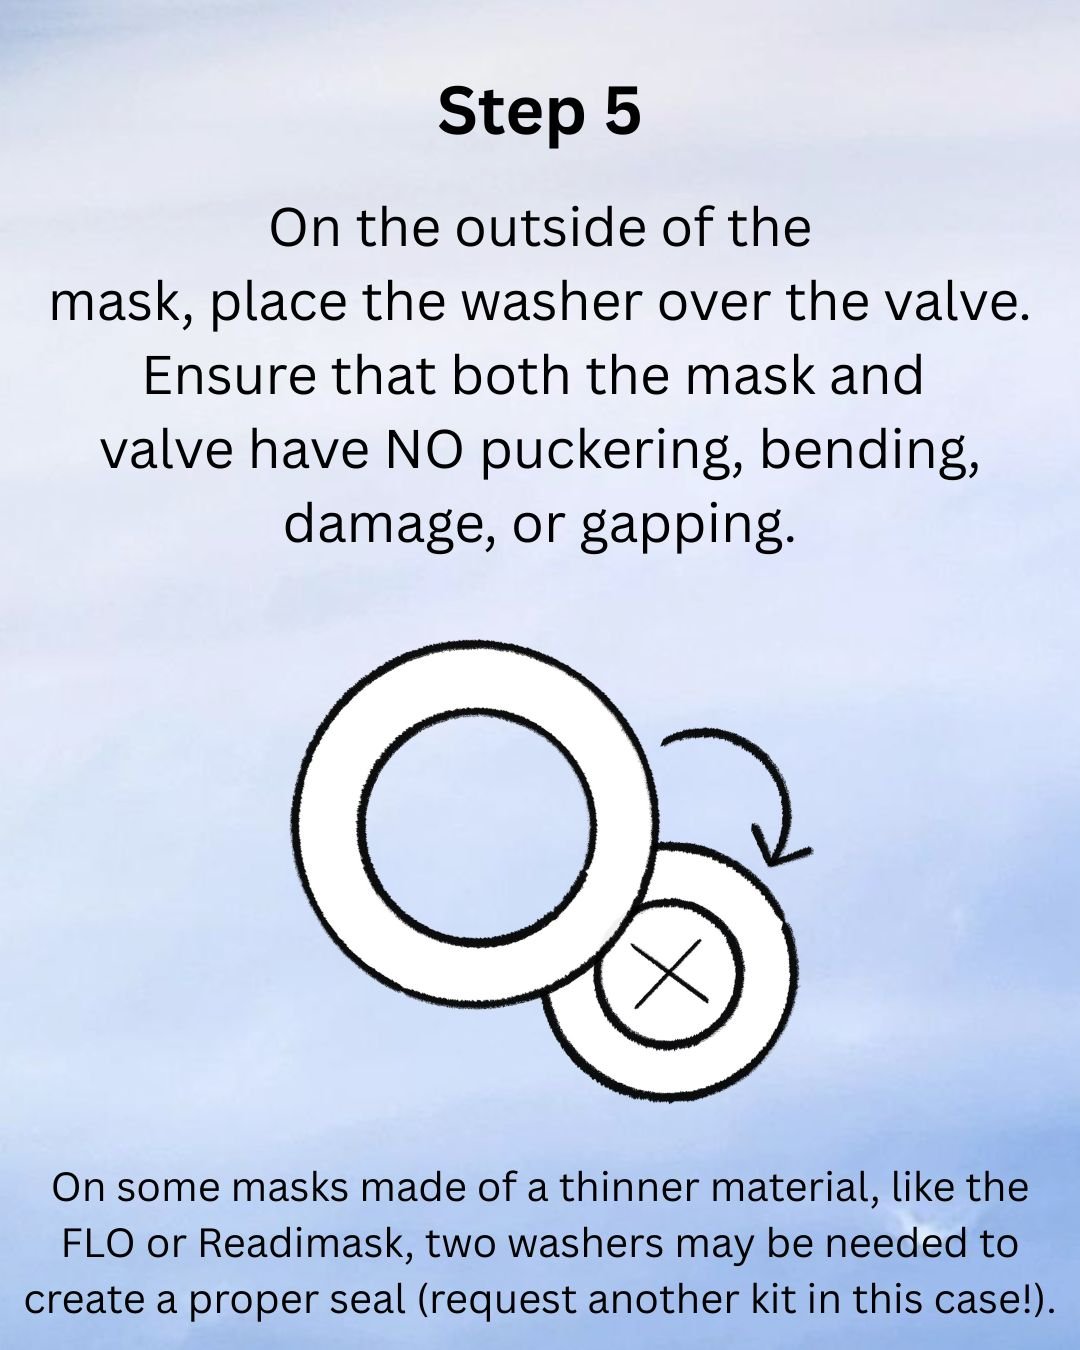
Step 5: On the outside of the mask, place the washer over the valve. Ensure that both the mask and valve have NO puckering, bending, damage, or gapping. On some masks made of a thinner material, like the FLO or Readimask, two washers may be needed to create a proper seal (request another kit in this case!).
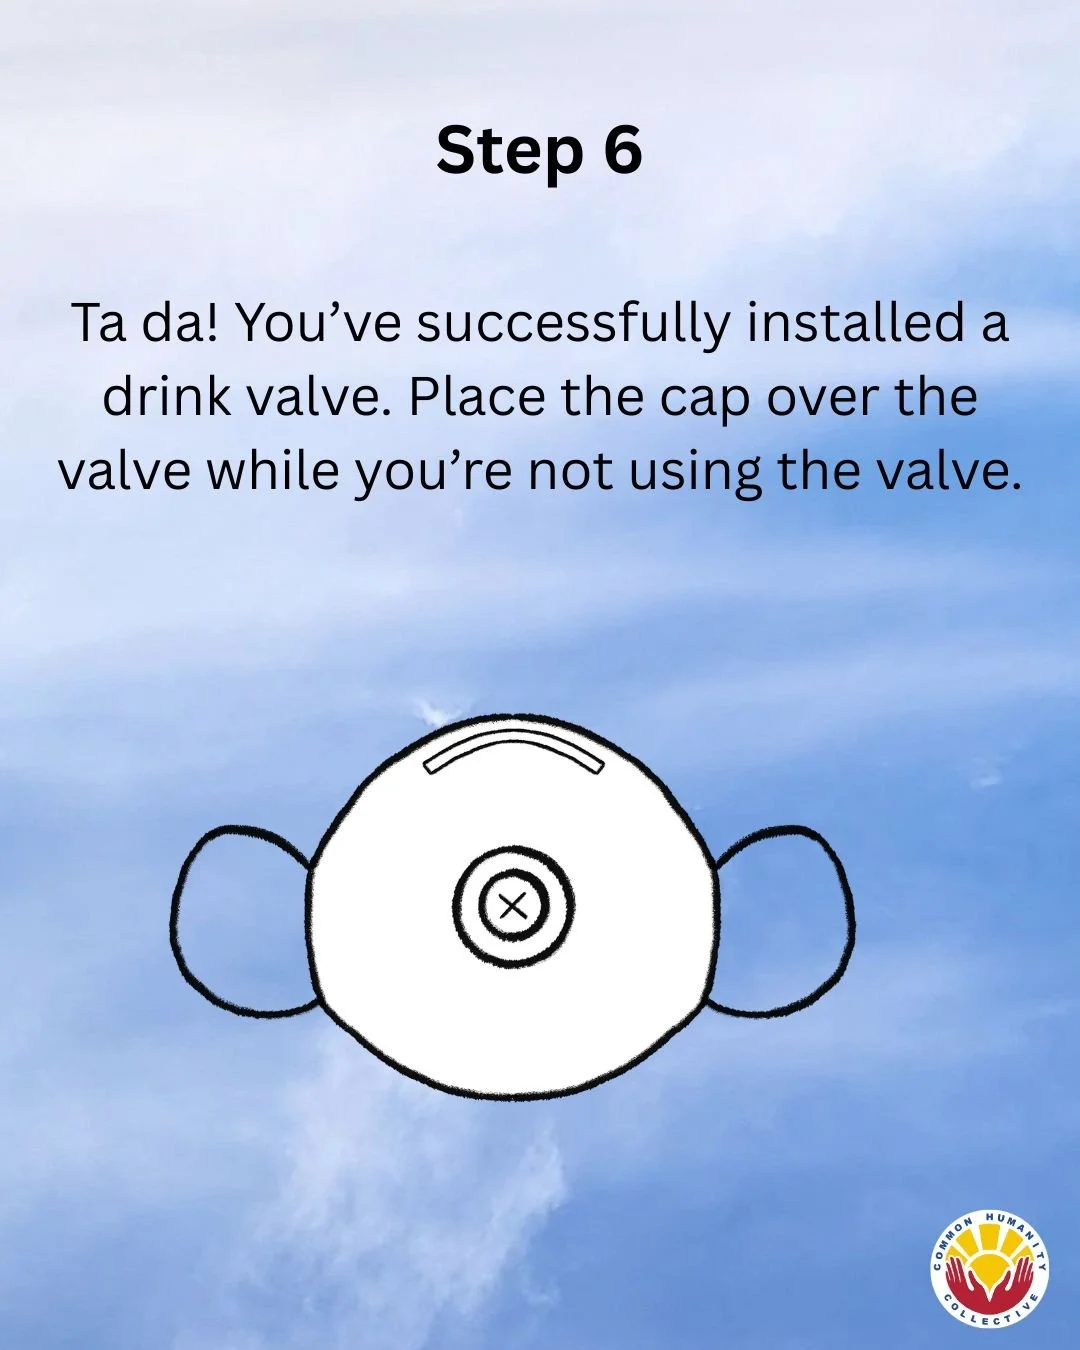
Step 6: Ta da! You’ve successfully installed a drink valve. Place the cap over the valve while you’re not using the valve.